Toilet Repair
Experience hassle-free toilet repair services with Plumbing Therapist in Tampa Bay. From clogs and leaks to flush problems, we’ve got you covered.
Do You Need Our Help ?
Feel free to contact us now
$99 Water Heater Flush + Free Plumbing System Inspection
Toilet Repair in Tampa Bay
Reliable & Effective Toilet Repair Services in Hillsborough County, Pinellas County, and Pasco County
Facing issues with a malfunctioning toilet? Clogs, leaks, and flushing problems can be more than just inconvenient, they can disrupt your day and even lead to costly repairs down the line. At Plumbing Therapist, we’re committed to providing quick and reliable solutions to all your toilet troubles. Our certified technicians are experts in resolving a wide array of toilet issues efficiently and affordably. Choose Plumbing Therapist to restore comfort and functionality to your bathroom.
Don’t let toilet issues bog you down. Choose Plumbing Therapist for quick and reliable service.
At Plumbing Therapist, we understand that a malfunctioning toilet can bring your home or business to a standstill. That’s why we’re committed to providing quick, reliable, and affordable toilet repair services. With our emergency service, you can rest assured that help is just a phone call away.
- Certified Technicians
- 100% Satisfaction Guarantee
- Fully Stocked Vans
- Transparent Pricing
Common Toilet Issues
- Clogged Toilets: Causes can range from excessive toilet paper to foreign objects.
- Running Toilets: A constant flow of water can significantly increase your water bill.
- Leaking Toilets: Often due to faulty seals, flanges, or wax rings.
- Flush Issues: Weak or partial flushes usually indicate mechanical problems.

Why partner with Plumbing Therapist?
Quality, Affordability, and Expertise.

No Hidden or Unexpected Charges

Free Estimates & Online Booking Available

Professionally Trained Technicians

Honesty is Guaranteed

Quick Communication & Service Within 24 Hours

400+ 5 Star Reviews

Do I need to repair my toilet?
Addressing toilet problems promptly is important for several reasons:
Hygiene and Health: A malfunctioning toilet can be unsanitary and could pose health risks due to potential bacterial growth or sewage backup.
Convenience: A broken toilet can be a major inconvenience, especially if you have limited bathrooms in your home or business.
Cost-Efficiency: Small problems can escalate into bigger, more expensive issues if not dealt with immediately. For instance, a running toilet can inflate your water bill, while a small leak can lead to water damage over time.
Environmental Impact: Wasting water due to a constantly running or leaking toilet is environmentally irresponsible. Repairing such issues helps conserve valuable natural resources.
Property Value: A well-maintained plumbing system can be a selling point if you decide to move. On the other hand, unresolved issues can decrease your property’s value.
Peace of Mind: Knowing that your toilet is functioning properly removes one potential source of stress from your daily life.
So, if you’re experiencing any issues with your toilet, it’s wise to get it repaired as soon as possible.
If you would like more information, feel free to give them a call at (813)-437-4477 or you can book online and get their latest discount!
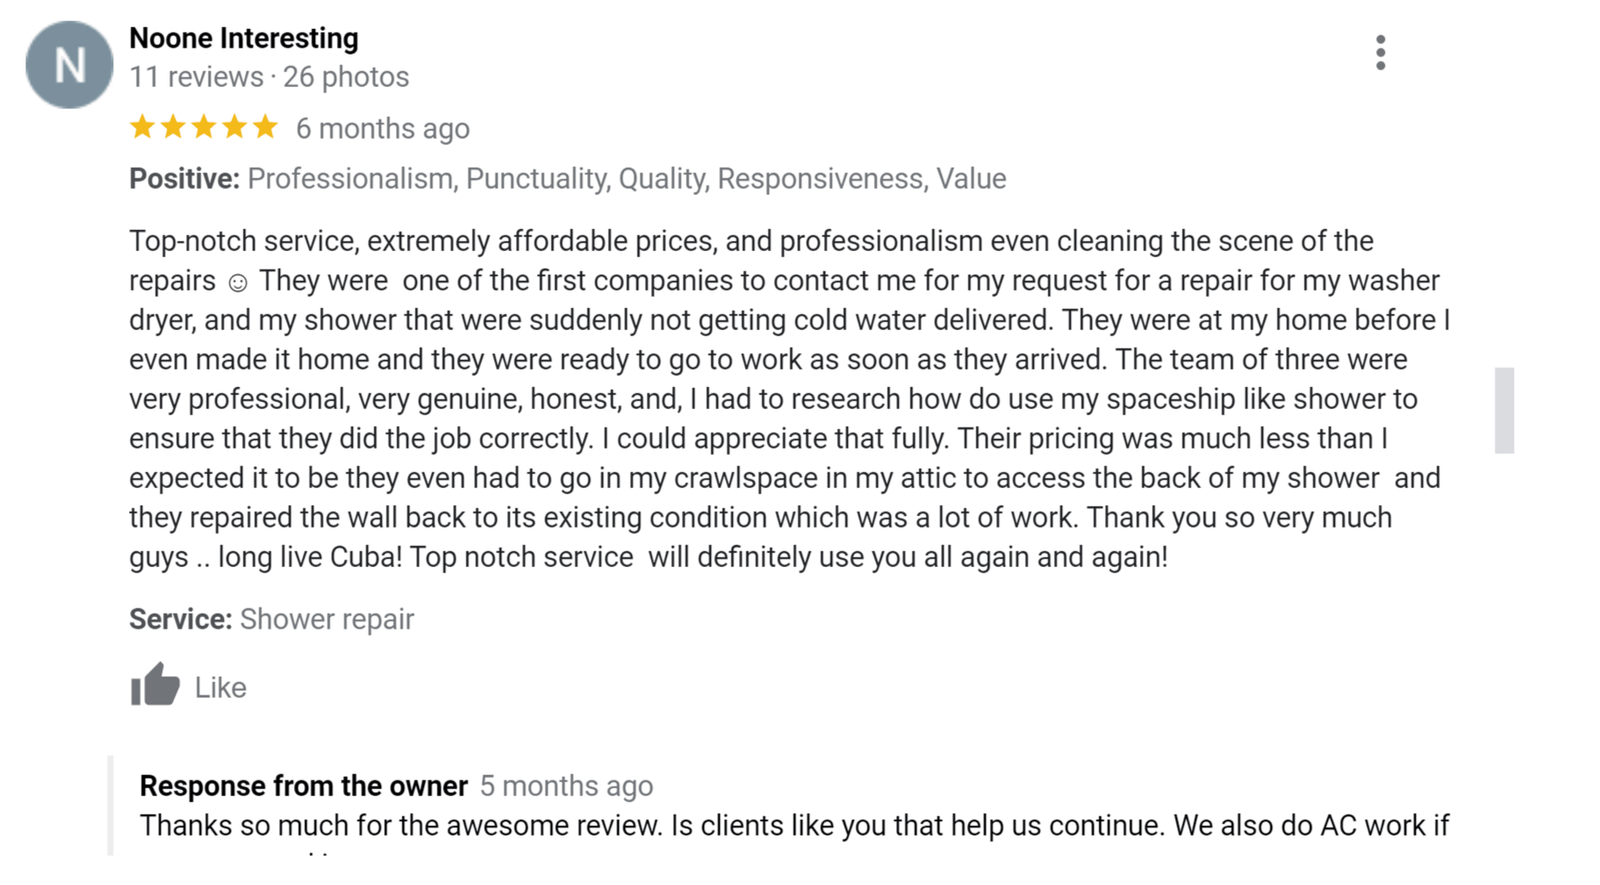
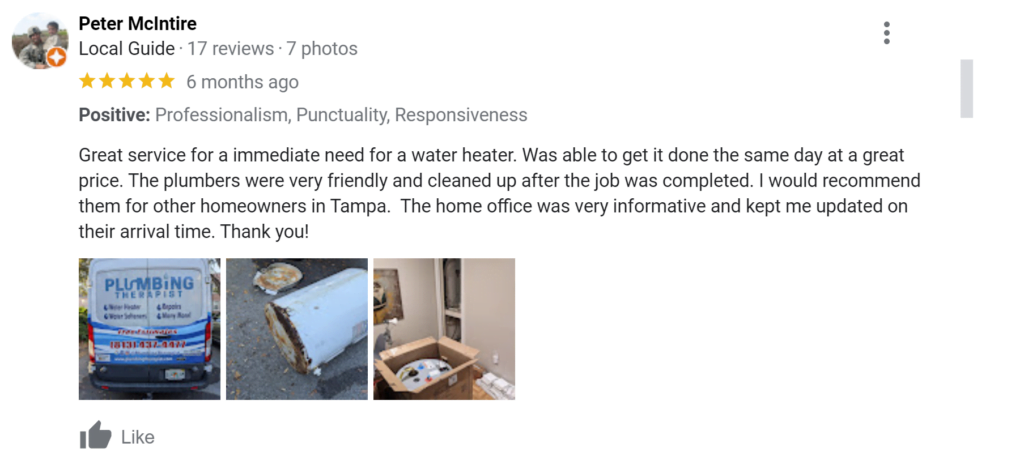
Customer Testimonials: Real Experiences with Plumbing Therapist
We proudly share the experiences and stories of our valued clients. Their feedback provides a glimpse into the quality of service and commitment to excellence we uphold at Plumbing Therapist. You'll read firsthand how our plumbing solutions have improved comfort and efficiency in homes across Tampa Bay. These testimonials illustrate our dedication to customer satisfaction and the difference our expert services can make.
Your questions answered
Common Toilet Repair Questions:
Why is my toilet constantly running?
A constantly running toilet is a common issue that can be caused by several factors. Here are some common reasons:
1. Faulty Flapper
- Symptoms: Water keeps flowing from the tank to the bowl.
- Solution: Adjust or replace the flapper to ensure a proper seal.
2. Chain Length
- Symptoms: The flapper doesn’t seal well due to an improperly sized chain.
- Solution: Adjust the chain for a better fit.
3. Float Misalignment
- Symptoms: High water level causing overflow.
- Solution: Reconfigure the float arm or screw to set the correct water level.
4. Fill Valve Issues
- Symptoms: Continuous water flow into the tank.
- Solution: Repair or replace the fill valve.
5. Worn Gaskets
- Symptoms: Internal leaks within the tank.
- Solution: Replace worn-out gaskets or seals.
6. Overflow Tube Cracks
- Symptoms: Constant leakage into the overflow tube.
- Solution: Replace the damaged tube.
Tools:
- Screwdriver
- Adjustable wrench
- Replacement parts
Quick Fixes:
- You can manually adjust the float arm or turn off the water supply temporarily for relief.
Professional Help:
If the issue persists or if you’re not comfortable making repairs, it’s advisable to consult a professional. Constant running can sometimes indicate more complex issues requiring expert attention.
How do I unclog a toilet?
Unclogging a toilet can often be a straightforward task, but it does depend on the severity and location of the clog. Here are some methods you can try:
Plunger Method:
- Preparation: If the toilet bowl is close to overflowing, turn off the water supply valve located near the base of the toilet.
- Plunge: Insert a toilet plunger into the bowl, making sure to cover the hole completely. Push down and pull up vigorously several times.
- Test: Flush the toilet to see if the clog has cleared. If not, repeat the plunging action.
- Water Supply: Turn the water supply back on if you’ve previously shut it off.
Auger or Plumbing Snake:
- Insert Auger: Insert the end of the toilet auger or plumbing snake into the hole.
- Twist and Push: Turn the handle clockwise while pushing the auger further down the drain to break up the clog.
- Retract: Pull the auger out and flush to check if the clog is cleared.
Chemical Drain Cleaner:
Note: Use this method only as a last resort and follow all safety instructions. Chemical drain cleaners can be harmful to your plumbing and are generally not recommended by professionals for toilets.
- Pour: Carefully pour the chemical drain cleaner into the bowl.
- Wait: Allow the chemical to sit for the time specified on the product’s instructions.
- Flush: Flush it to see if the clog has been dissolved.
Professional Help:
If the clog persists after trying the above methods, it may be located deeper in the plumbing system, or there may be a more serious issue. In such cases, it’s advisable to call a professional plumber to assess and fix the problem.
Remember to always wear appropriate safety gear, like gloves and eye protection, when attempting to unclog a toilet, especially when using chemicals.
Can I fix a toilet leak myself?
Fixing a toilet leak yourself is often possible, depending on the source and severity of the leak. Here’s how you can address common types of toilet leaks:
1. Tank-to-Bowl Leak
Symptoms: Water leaking from the tank onto the floor when you flush.
DIY Fix: Tighten the bolts securing the tank to the bowl. If that doesn’t work, you may need to replace the tank-to-bowl gasket.
2. Flapper Valve Leak
DIY Fix: Replace the flapper. Make sure the new flapper is compatible with your model.
3. Fill Valve Leak
Symptoms: Water constantly filling the tank, leaking from the fill valve.
DIY Fix: Tighten the fill valve nut. If the leak persists, replace the fill valve.
4. Supply Line Leak
Symptoms: Water leaking from the line connecting the tank to the water supply.
DIY Fix: Tighten the nuts on each end of the supply line. If it’s damaged, consider replacing the line.
5. Wax Ring Leak
Symptoms: Water leaking from the base of the toilet.
DIY Fix: This is more labor-intensive. You’ll need to remove the toilet from the floor, replace the wax ring, and then reseat the toilet. Make sure you turn off the water supply and empty the tank and bowl before you start.
6. Cracked Tank or Bowl
Symptoms: Water leaking from a crack in the tank or bowl.
DIY Fix: Unfortunately, a cracked tank or bowl usually means you’ll need to replace the toilet. Temporary fixes like sealant are generally not effective long-term solutions.
Tools You May Need
- Wrench
- Screwdriver
- Plunger
- Replacement parts (e.g., flapper, fill valve, wax ring)
- Teflon tape
- Gloves
- Towels for cleanup
Before performing any DIY repairs, make sure to turn off the water supply to the toilet and flush to empty the tank and bowl. Always follow safety guidelines and manufacturer’s instructions for replacing parts.
For leaks that are complex or difficult to locate, it’s advisable to consult a professional for diagnosis and repair.
Why is my toilet not flushing properly?
If your toilet is not flushing properly, there could be a variety of reasons why. Here are some common issues and how to address them:
1. Low Water Level in Tank
- Symptoms: Weak flush.
- Possible Fixes: Adjust the float to increase the water level in the tank.
2. Clogged Drain or Sewer Line
- Symptoms: Bowl water rises but doesn’t flush away or flushes slowly.
- Possible Fixes: Use a plunger or plumbing snake to remove clogs. For persistent issues, you may need to consult a professional.
3. Flapper Valve Issues
- Symptoms: The toilet runs constantly or doesn’t flush fully.
- Possible Fixes: Replace the flapper or adjust its chain length to ensure it seals properly.
4. Broken or Misaligned Lift Chain
- Symptoms: Flapper doesn’t lift, so the toilet doesn’t flush.
- Possible Fixes: Reattach or adjust the chain length. Replace if broken.
5. Faulty Fill Valve
- Symptoms: Water doesn’t fill the tank or fills slowly.
- Possible Fixes: Replace or repair the fill valve.
6. Partially Closed Shut-Off Valve
- Symptoms: Weak flush due to insufficient water flow.
- Possible Fixes: Ensure the shut-off valve near the base of the toilet is fully open.
7. Blocked Rim Holes
- Symptoms: Inconsistent or weak flush, as water doesn’t flow effectively from the tank to the bowl.
- Possible Fixes: Clean rim holes with a piece of wire or a small brush.
8. Worn-Out or Damaged Parts
- Symptoms: Various flushing issues could occur due to worn-out or damaged components.
- Possible Fixes: Replace any worn-out or damaged parts, such as seals, valves, or the flush handle.
Before attempting any DIY fixes, make sure to turn off the water supply and flush the toilet to drain the tank. Always wear appropriate safety gear and follow the manufacturer’s instructions when replacing parts.
If you’ve tried these solutions and the issue persists, or if you’re uncomfortable performing these checks and fixes yourself, it may be best to consult a professional for diagnosis and repair.
How often should I replace toilet parts like the flapper or fill valve?
The lifespan of toilet parts like the flapper or fill valve can vary based on factors like frequency of use, water quality, and the quality of the parts themselves. However, as a general guideline:
Flapper:
- Lifespan: Typically 4-5 years, but can be less in areas with hard water.
- Signs of Wear: Constant or intermittent running of the toilet, needing to jiggle the handle to stop water flow, or visible deterioration.
- Maintenance: Regularly check for mineral deposits or decay. Some flappers are adjustable; tweaking the settings might improve performance.
Fill Valve:
- Lifespan: Usually around 7 years.
- Signs of Wear: Noisy or slow tank refilling, constant running, or water hammer sounds.
- Maintenance: Clean the valve periodically and check for wear. Some fill valves have a strainer that can be cleaned to improve water flow.
Other Parts:
- Flush Valve: These generally last 7-10 years but check for leaks or sluggish performance.
- Wax Ring: While not a moving part, the wax ring that seals the base of the toilet should be replaced if you notice leaks around the base, usually every 10-20 years.
- Supply Line: These should be replaced every 5-7 years, or sooner if you notice corrosion or kinks.
- Handles and Levers: These can last a long time but are also easily replaceable if they become loose or corroded.
General Tips:
- Regular Maintenance: A simple inspection every 6-12 months can help you catch issues before they become problems.
- Quality Matters: When replacing parts, consider high-quality options which may offer a longer lifespan.
- Follow Manufacturer Guidelines: Always check what the manufacturer recommends in terms of part replacement and maintenance.
If you’re experiencing frequent issues or are not comfortable replacing these parts yourself, you may want to consult a professional for maintenance or replacement.
How do you fix a toilet that won't fill with water?
If your toilet tank won’t fill with water, it’s usually a sign that something is amiss with the water supply or the components inside the tank. Here are some common issues and their respective solutions:
1. Check Water Supply Valve
- Symptoms: No water in the tank.
- Solution: Make sure the water supply valve near the base of the toilet is fully open.
2. Examine the Fill Valve
- Symptoms: Water isn’t coming into the tank or is filling slowly.
- Solution: If the fill valve appears damaged or worn out, you may need to replace it. You can also try cleaning it, as sediment buildup can block water flow.
3. Inspect the Float
- Symptoms: Water level is too low, leading to insufficient flush.
- Solution: Adjust the float arm or screw (if available) so that the tank fills to the proper level. If the float is damaged, it may need to be replaced.
4. Look for Kinks or Leaks in the Supply Line
- Symptoms: Water leaking onto the floor or visibly damaged supply line.
- Solution: Straighten any kinks in the line. If you find any leaks or signs of wear, replace the supply line.
5. Check for Clogs
- Symptoms: Water filling the tank very slowly.
- Solution: Check for sediment or debris in the fill valve or supply line that might be restricting water flow. Clean as needed.
6. Inspect the Flapper
- Symptoms: Water continuously running into the bowl but not filling the tank.
- Solution: Make sure the flapper is properly sealing the flush valve opening. If it’s not, try adjusting the chain length or replace the flapper.
7. Test Water Pressure
- Symptoms: Slow-filling or non-filling tank.
- Solution: Low water pressure in your home might affect the refill rate. This is a broader issue that may require a plumber’s attention.
Tools You May Need:
- Adjustable wrench
- Screwdriver
- Plunger (for potential clogs)
- Replacement parts (fill valve, float, supply line, etc.)
- Teflon tape (for sealing threaded joints)
Always turn off the water supply before performing any repairs, and follow safety guidelines and manufacturer’s instructions when replacing parts. For persistent or complex issues, it’s advisable to consult a professional.
What causes a toilet to leak from the bottom?
A toilet leaking from the bottom is usually a sign that something is not quite right with the sealing or connection at its base. Here are some common causes:
1. Loose Tee Bolts
- Symptoms: Minor leakage around the base, especially during flushing.
- Solution: Tighten the tee bolts that secure the toilet to the floor. Be careful not to overtighten, as this can crack the toilet base.
2. Worn-Out or Improperly Installed Wax Ring
- Symptoms: Water pooling around the base of the toilet.
- Solution: Replace the wax ring. This requires removing the toilet from the floor, so you may want to consult a professional if you’re not comfortable with this task.
3. Cracked Toilet Base
- Symptoms: Constant leakage from the base, even when not in use.
- Solution: Unfortunately, a cracked base usually means the toilet will need to be replaced.
4. Condensation
- Symptoms: Water around the base but not directly leaking from the toilet.
- Solution: This is usually not a leak but rather condensation that forms on the outside of the toilet bowl. It can be resolved by improving ventilation or installing a toilet sweat tray.
5. Leaking Supply Line
- Symptoms: Water leaking near the valve or along the hose leading to the toilet.
- Solution: Tighten the connection or replace the supply line if damaged.
6. Faulty Tank-to-Bowl Gasket
- Symptoms: Water leaking from where the tank connects to the bowl.
- Solution: Tighten the tank bolts. If the leak persists, you may need to replace the gasket.
7. Malfunctioning Fill Valve Gasket
- Symptoms: Leakage from the bottom of the tank, near the fill valve.
- Solution: Tighten or replace the fill valve gasket.
8. Sewer Gas Odor
- Symptoms: Foul smell but no visible water leakage.
- Solution: This could indicate that the wax ring is not sealing properly and needs to be replaced.
Tools You May Need:
- Wrench or adjustable pliers
- Screwdriver
- Replacement parts like wax ring, gaskets, or bolts
- Towels or rags for cleanup
- Bucket to catch any residual water
Remember to turn off the water supply and empty the tank and bowl before performing any repairs. Always wear appropriate safety gear and follow the manufacturer’s instructions. If the issue is complex or persists after attempting a fix, consulting a professional is recommended.
Can I manually fill toilet tank?
Steps:
Turn Off Supply Valve: If the water line is still on but malfunctioning, turn it off to avoid potential issues.
Empty the Tank: If there’s residual water, flush to remove it. This may not be necessary if the tank is already empty.
Use a Container: Fill a bucket or large jug with water. You’ll need about 1.6 to 3.5 gallons, depending on your tank size.
Fill the Tank: Slowly pour water until it reaches the water level mark, or about an inch below the top of the overflow tube.
Test: Use the flush handle to ensure it functions as expected. The water you added should initiate a flush.
Repeat: You’ll have to fill the tank each time you need to flush until the main issue is resolved.
Important Points:
Clean Water: Use clean water to avoid sediment buildup in the mechanisms.
Short-Term Solution: This is a temporary measure. The root cause of the water supply issue should be addressed.
Professional Help: If you can’t identify or fix the problem, consult a professional.
This method is useful in emergencies but shouldn’t replace proper repairs or maintenance.